As I considered what our first “Blog” should be about, I thought maybe the history of the company, my husband, Vince’s story, or a general overview of all our products might be good, but I came back to a more basic subject….how to apply our Leather Cream. In creating a “Blog” page, we hope to finally answer some of the most frequent questions that we get….mostly over the phone and via email, and create a resource of helpful information for our customers to reference. That way, we’ll have more time to go off and play golf or walk the beach with the dog.
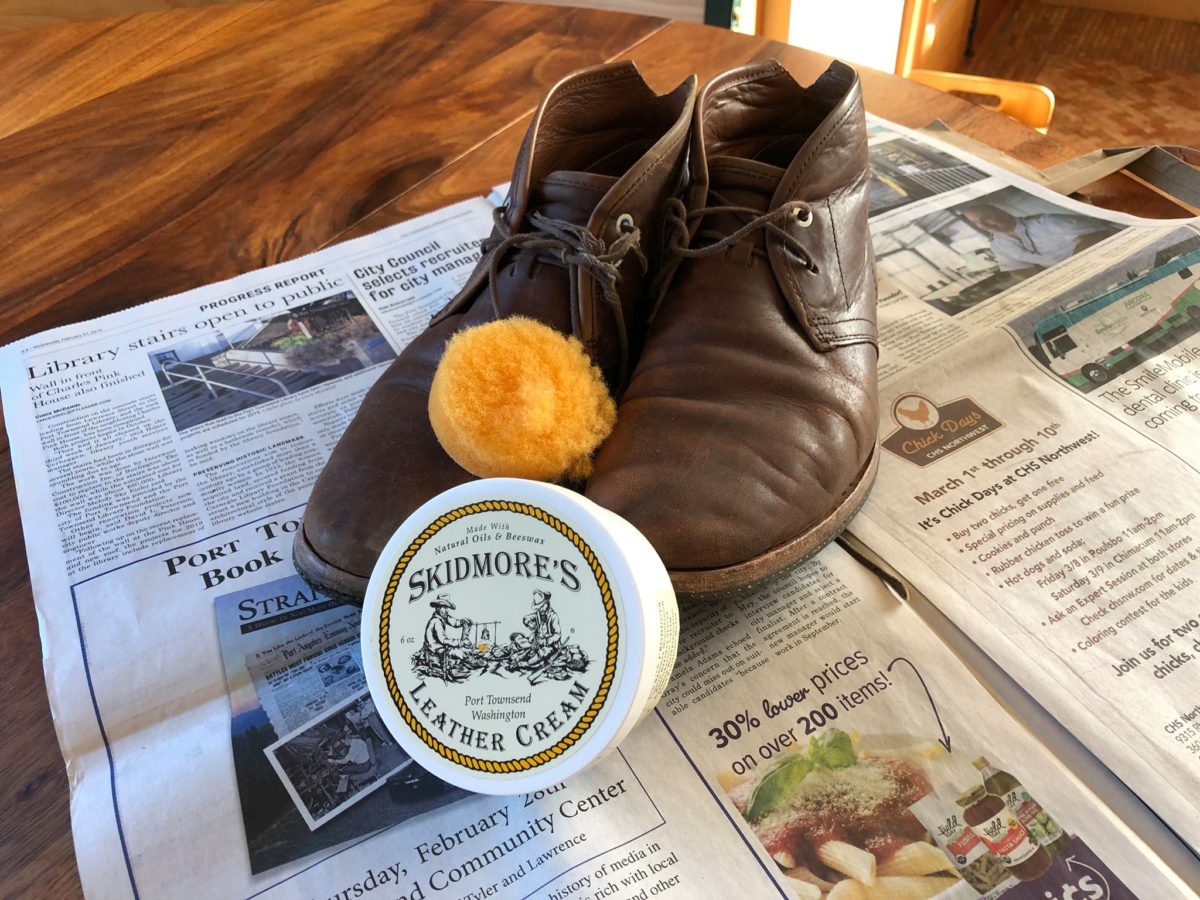
Skidmore’s Leather Cream is our main product and is useful in so many ways….infinitely useful….as one of our labels states. How best to apply the Leather Cream is dictated by the item it is going onto. In most instances the cream is going onto boots, shoes, saddles, tack, motorcycle gear, luggage or purses…so for basic application here goes:
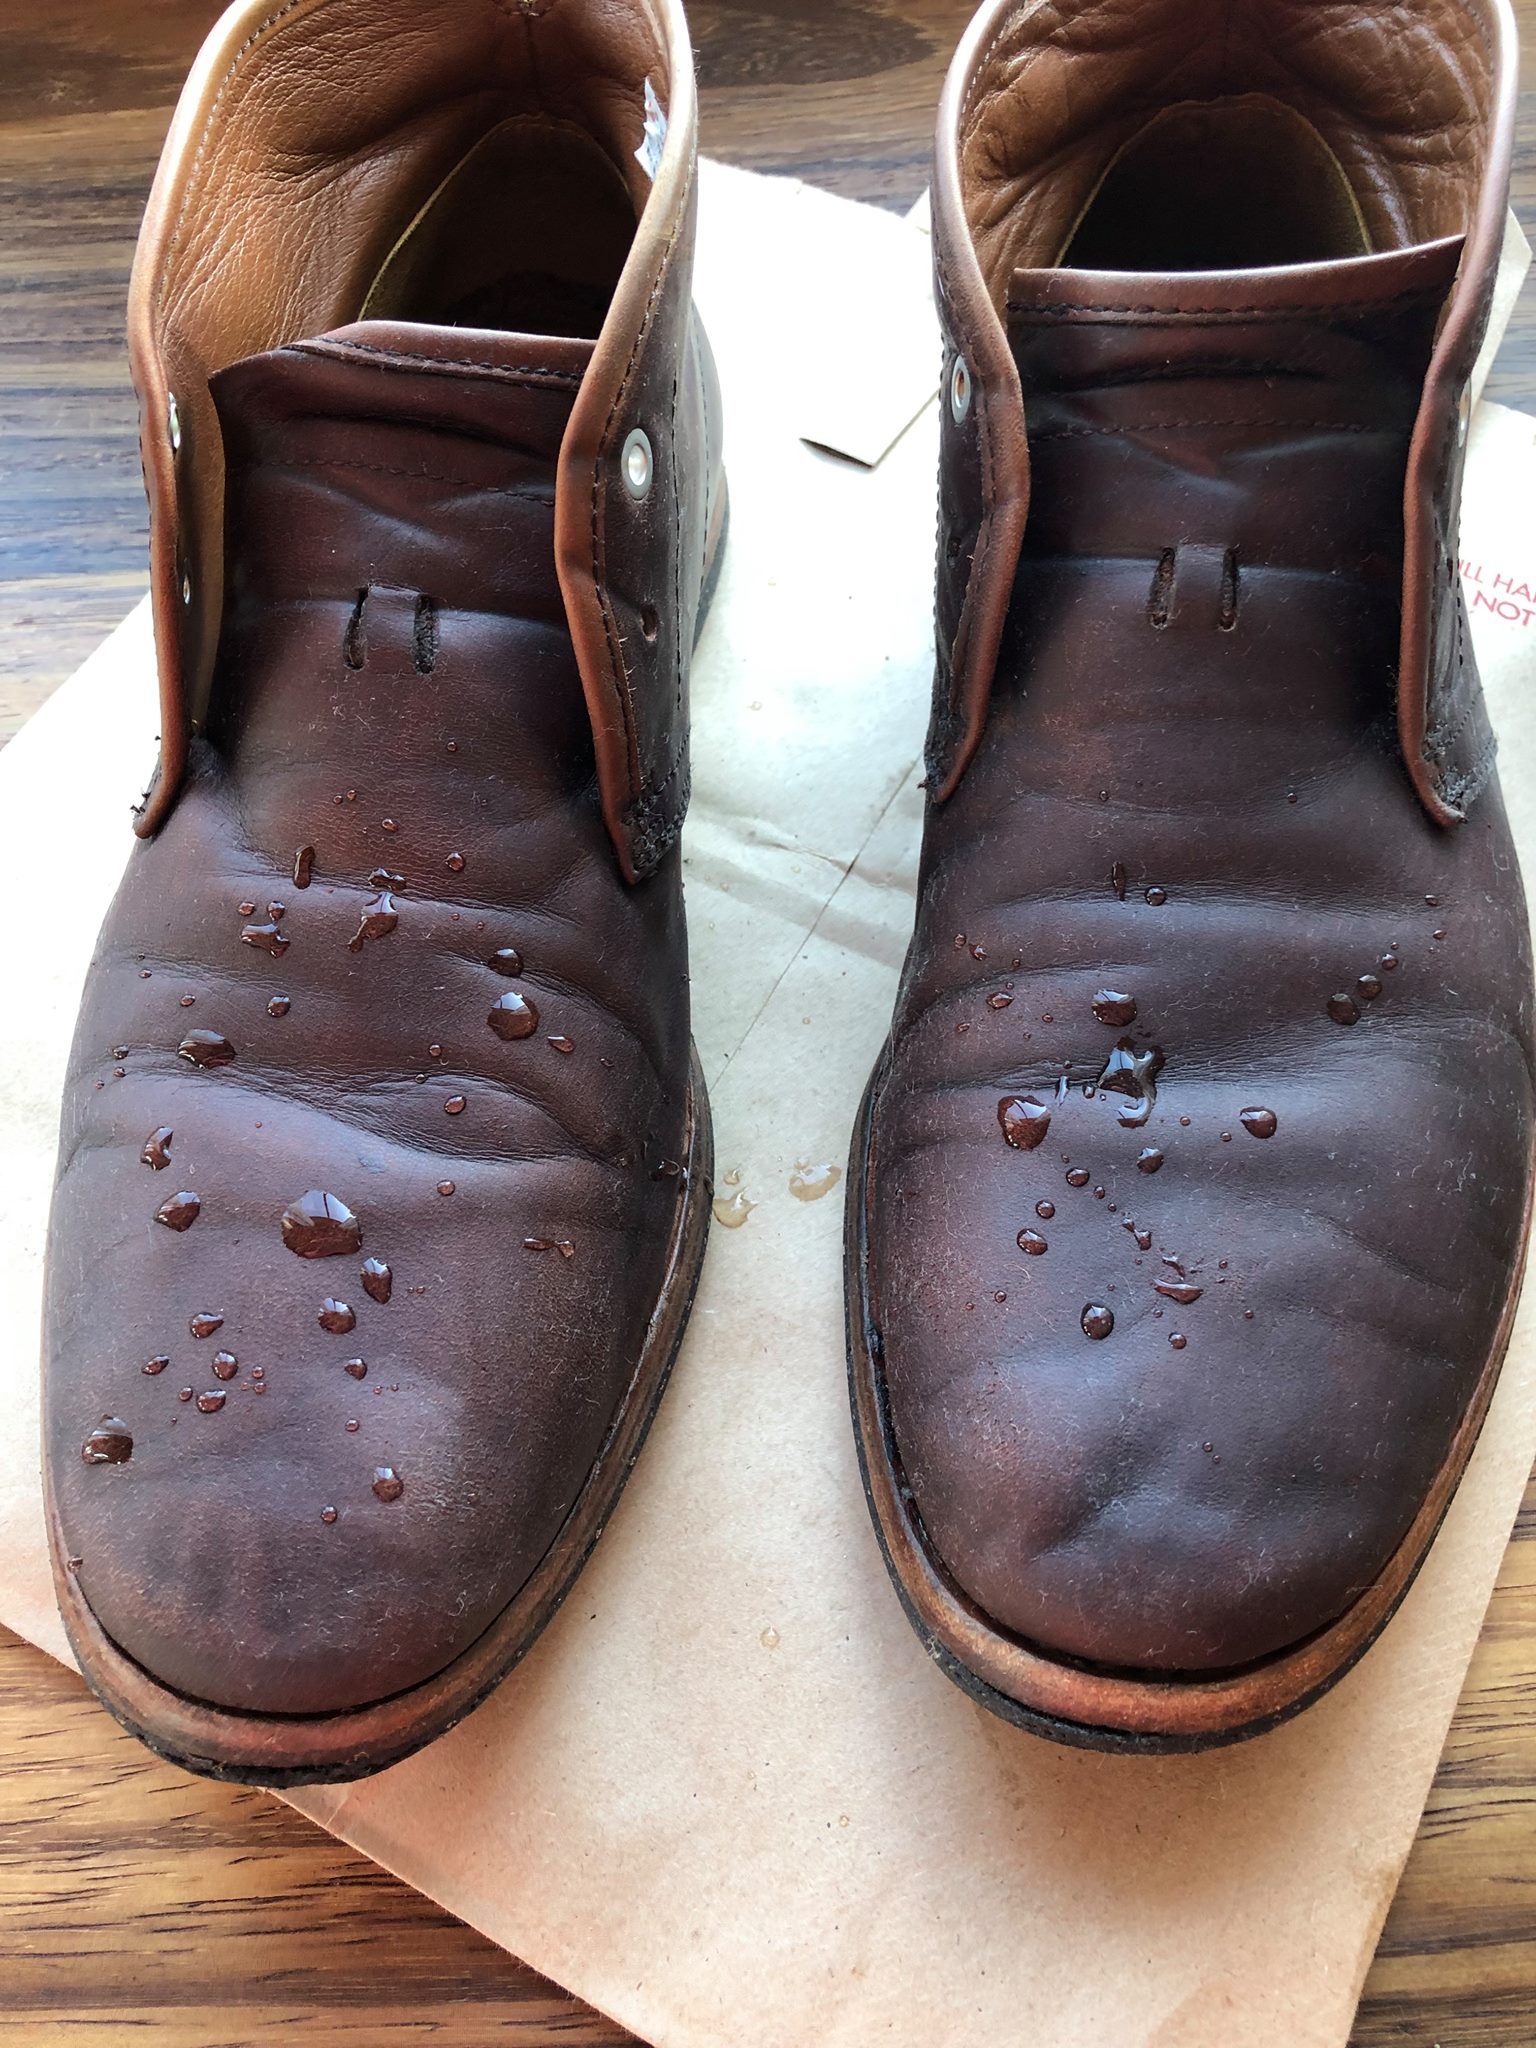
- The leather should be fairly clean…it can be cleaned with a damp cloth to remove excess dirt. The cream will actually “float” dirt up out of the pores of the leather, so you don’t have to be super concerned here.
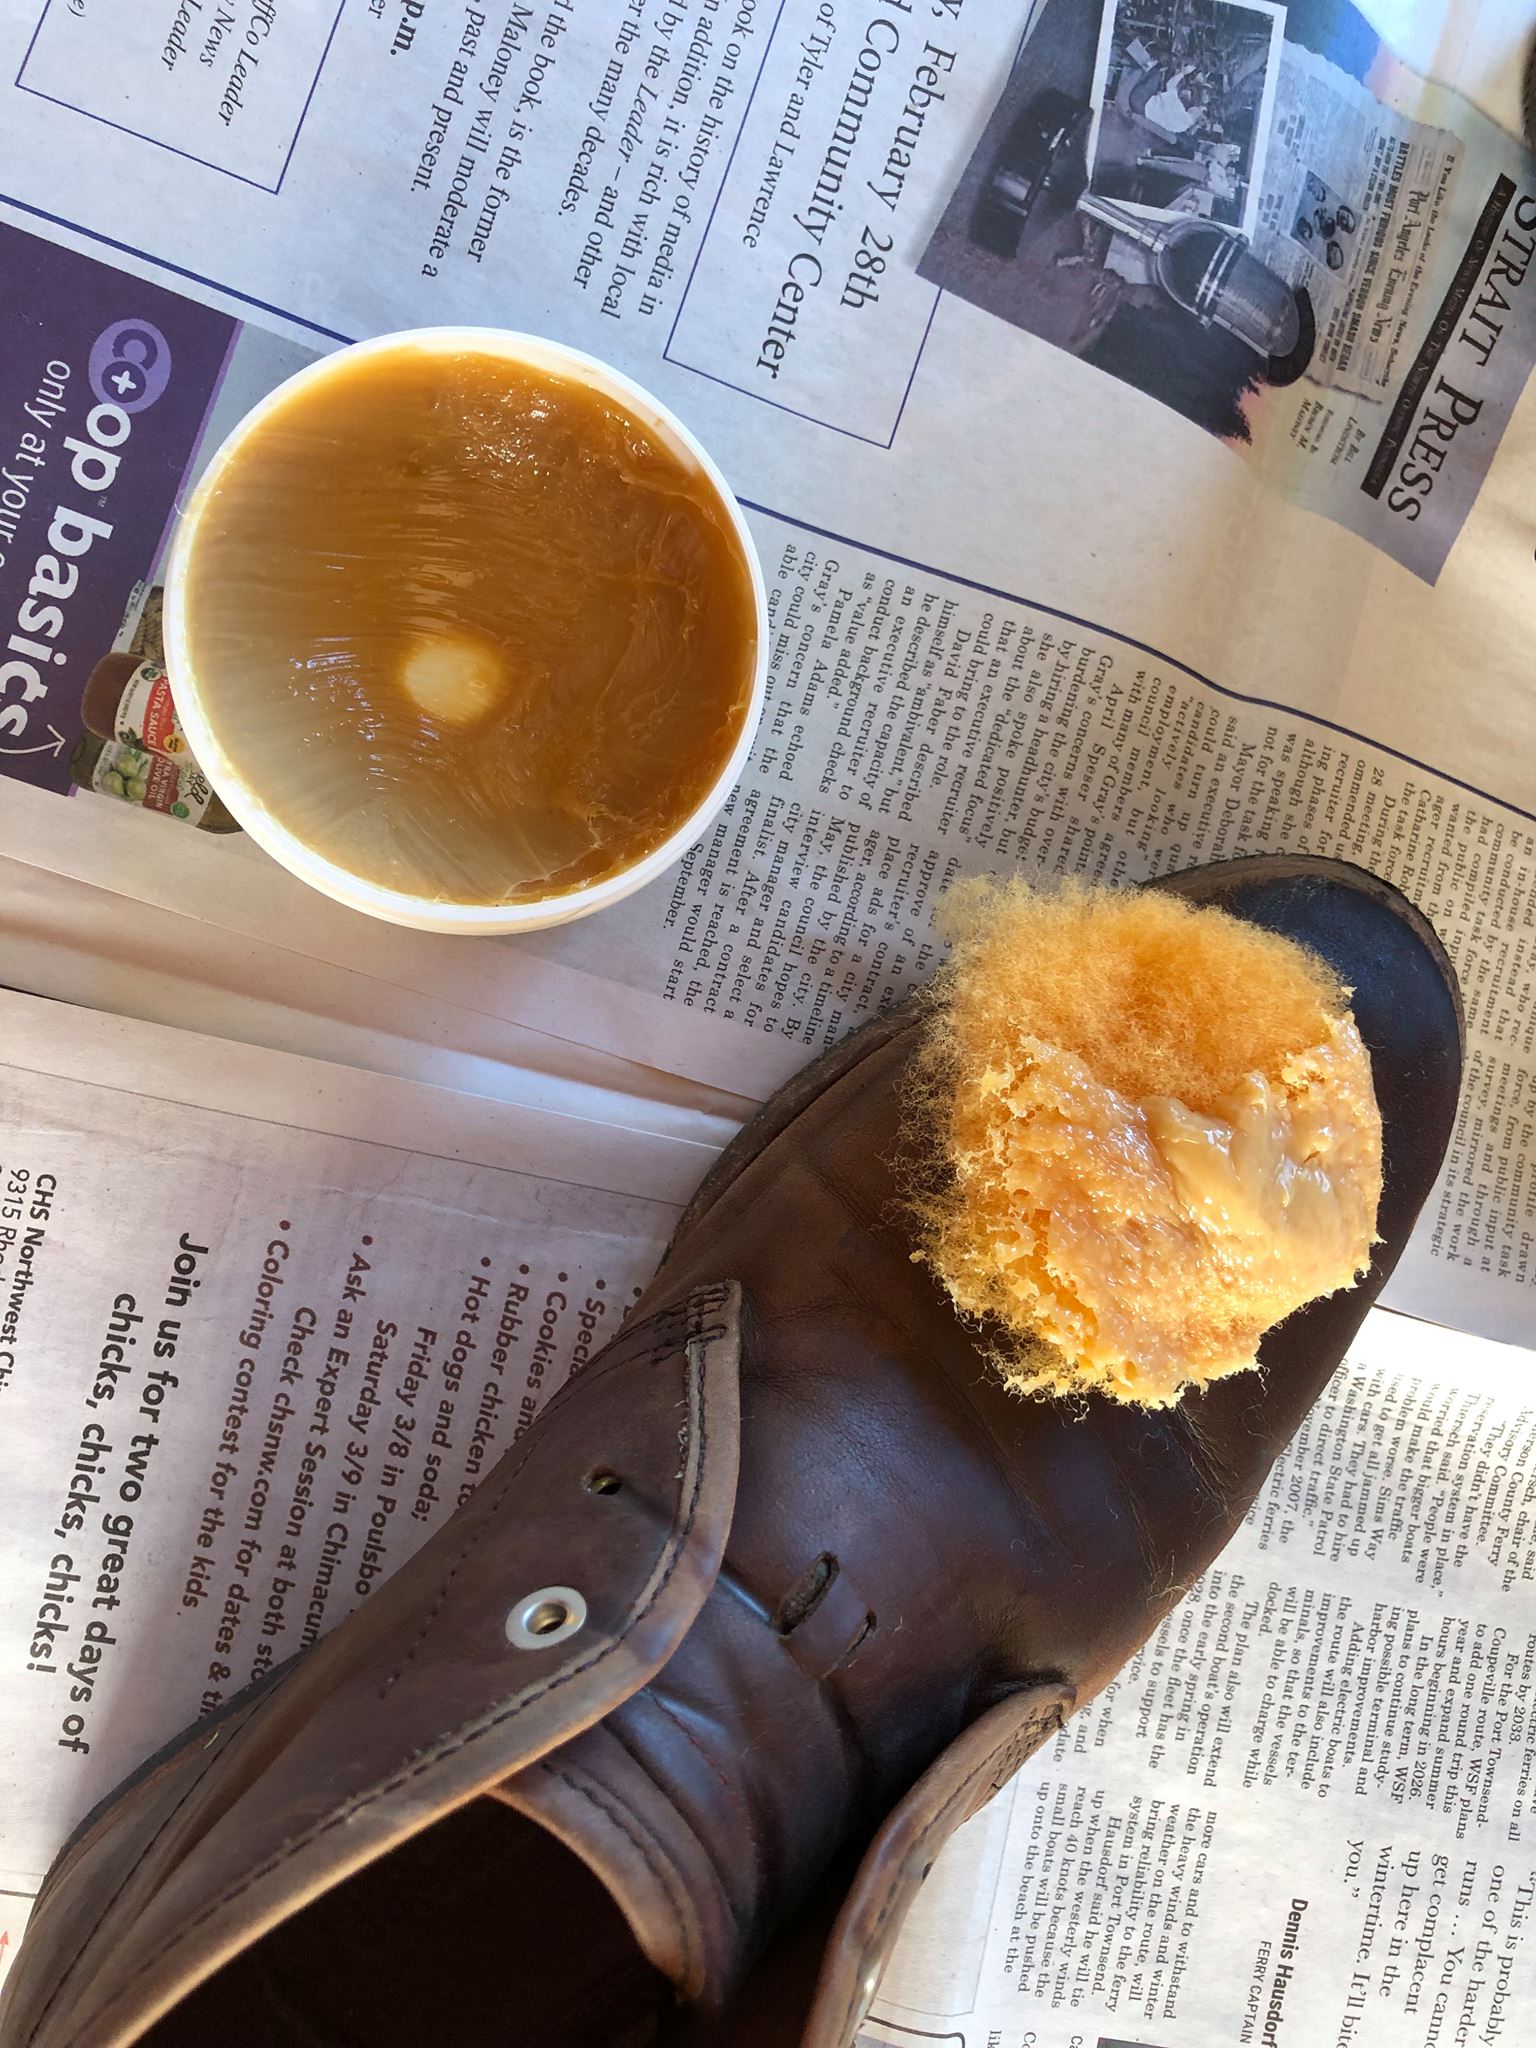
- Using a rag/brush/sheepskin applicator, apply the cream to the leather…not too little, not too much….you can tell.
- Allow the Leather Cream some time to soak in….15-30 minutes is usually just about right.
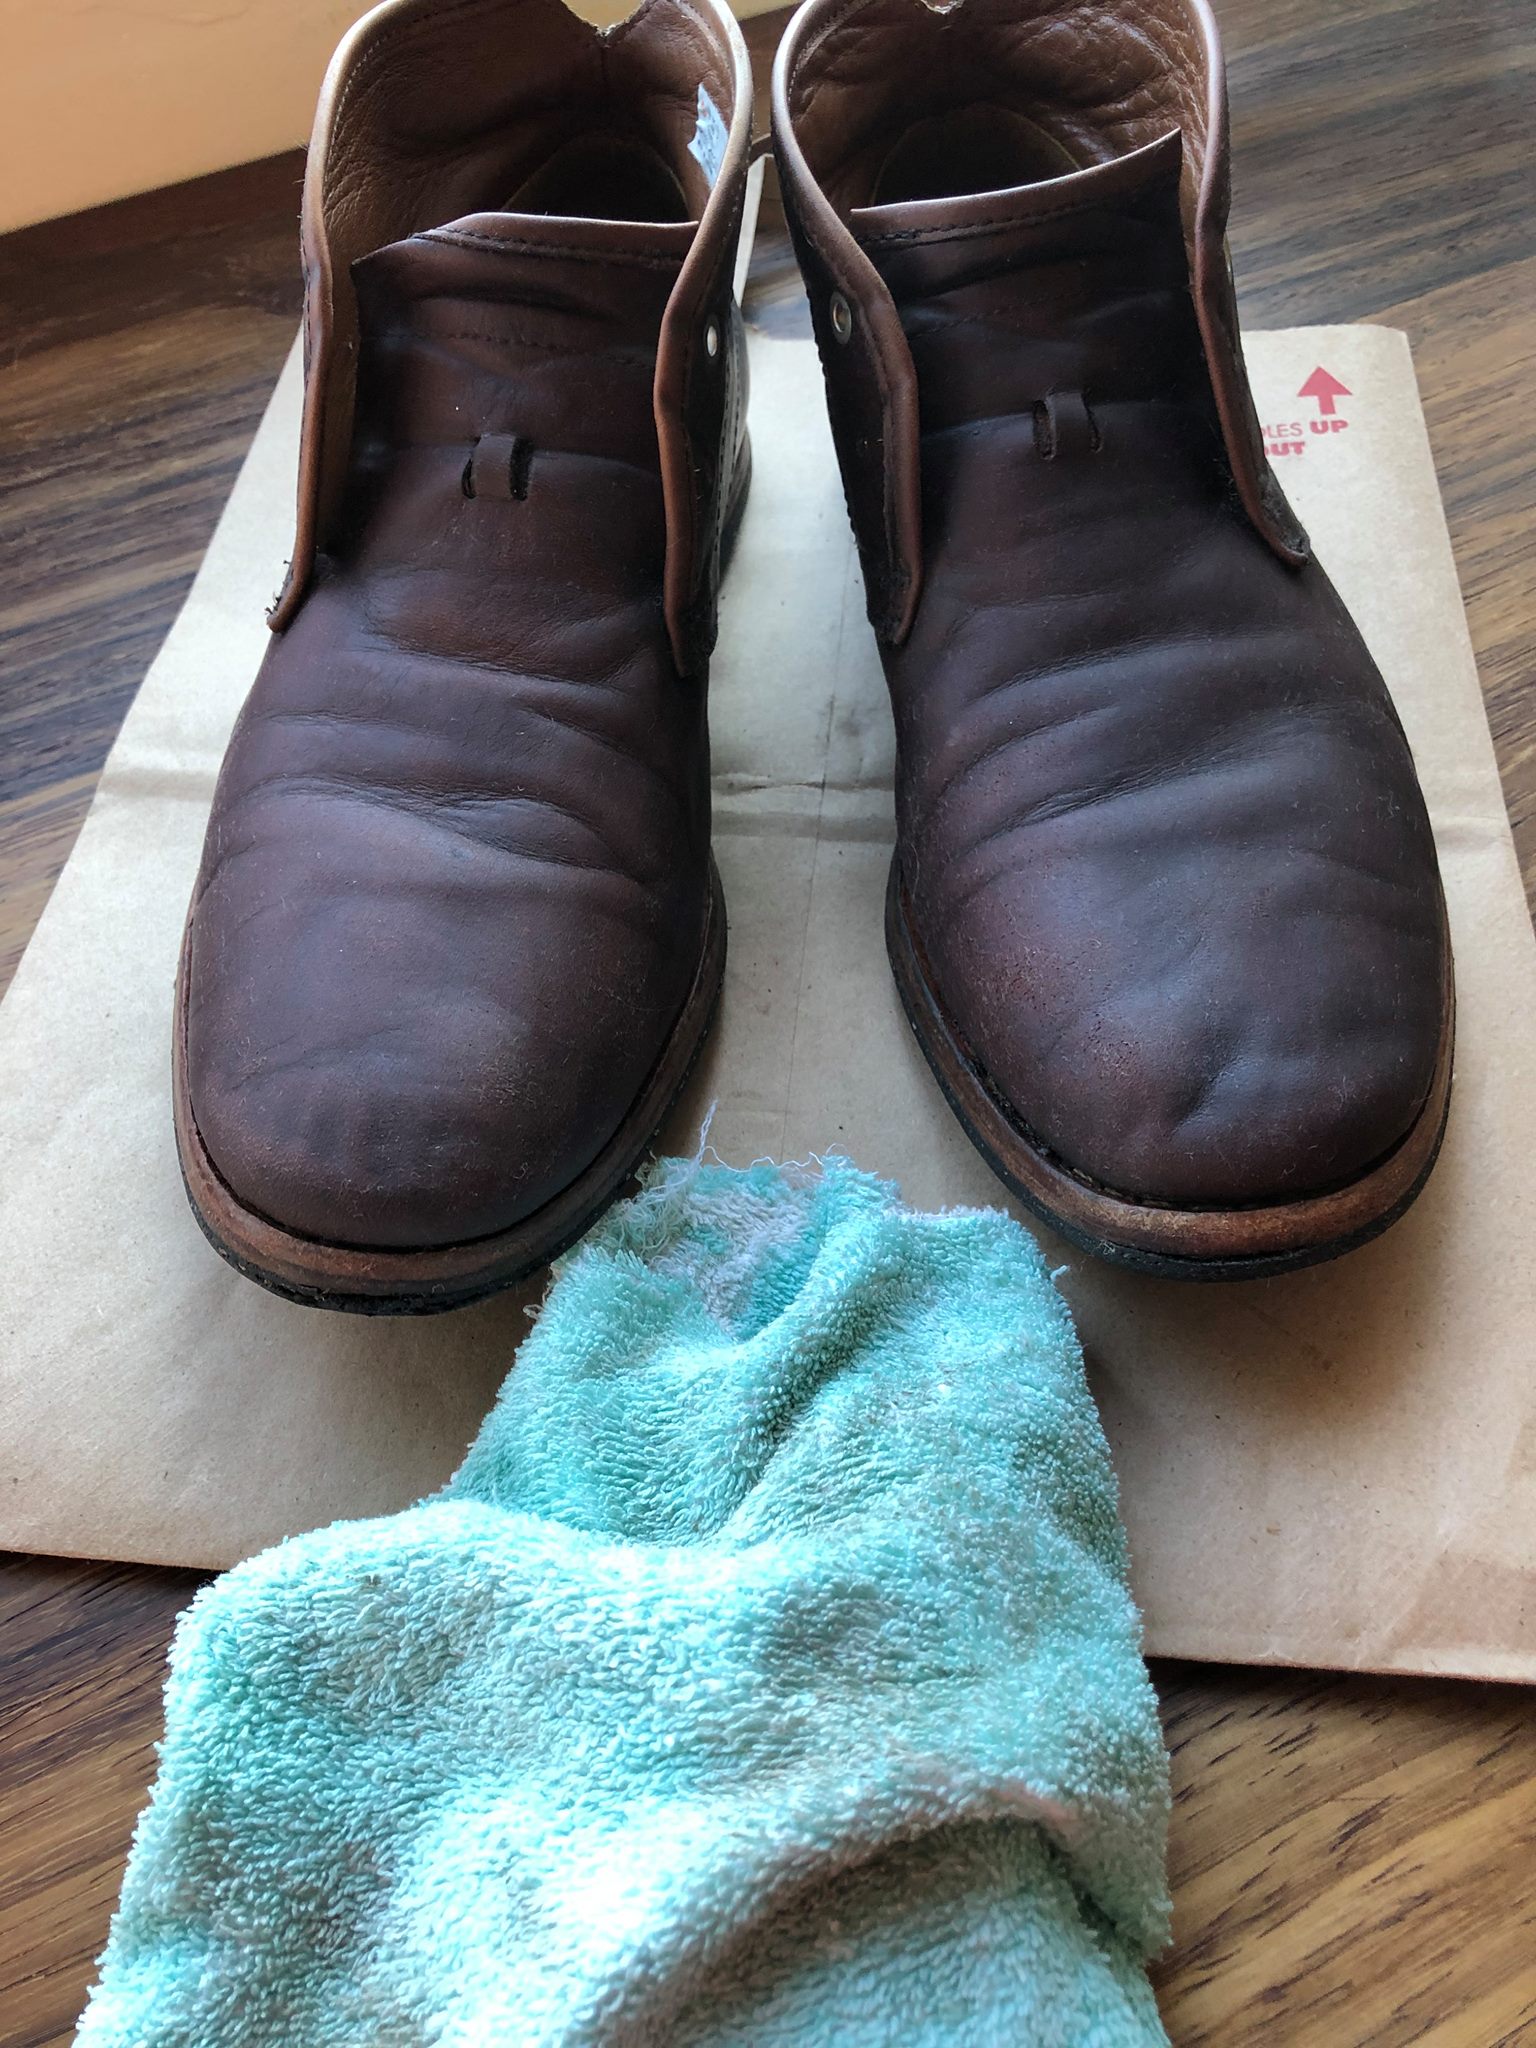
- Take a clean, dry cloth and rub it out….pick up any excess that is still on the surface and buff it until it feels smooth.
That is pretty much it. That being said, there are always special situations…like the saddle that was forgotten in the barn in Wyoming for 25 years
Stiff, dry, curled, cracked leather can be saved, but will require multiple applications, from both sides of the leather if possible…don’t scrimp on how much you’re using in this situation. At the other end of the spectrum would be delicate leathers…apply the cream sparingly with a soft cloth, remove excess and buff.
What can go wrong? There is pretty much just one thing that can cause a problem, and it is easy to remedy…..drumroll……and it is…. leaving the cream on for too long before rubbing/buffing it out. If you apply the cream, maybe put too much on, and then walk away until the next day…you might find that your leather article is tacky feeling. That is because you didn’t go back and rub/buff it out in a timely manner. This is easy to fix….take a little more of the cream and rub it on again…this will help to loosen the tackiness and then you can take your clean, dry cloth and pick up the excess and rub/buff it out.
A couple more issues:
What it’s not good on: Suede, rough-out, or nubuck types of leather. Use of the Leather Cream on these leathers will alter their appearance. Leather will be much darker due to the oils in the cream and on suede or rough-out leather the knap will be flattened.
Darkening: Our Leather Cream will enhance/restore the tone of the leather and make scuffs and scratches disappear. On light leather some darkening is likely…we tell folks to lick their finger and then touch the leather…that is the color they are likely to end up with. If you are concerned about darkening, we always suggest you test the Leather Cream on a small, out-of-site spot.
So, there you go, Leather Cream Application 101. Just remember, a little common sense goes a long way and this ain’t rocket science!